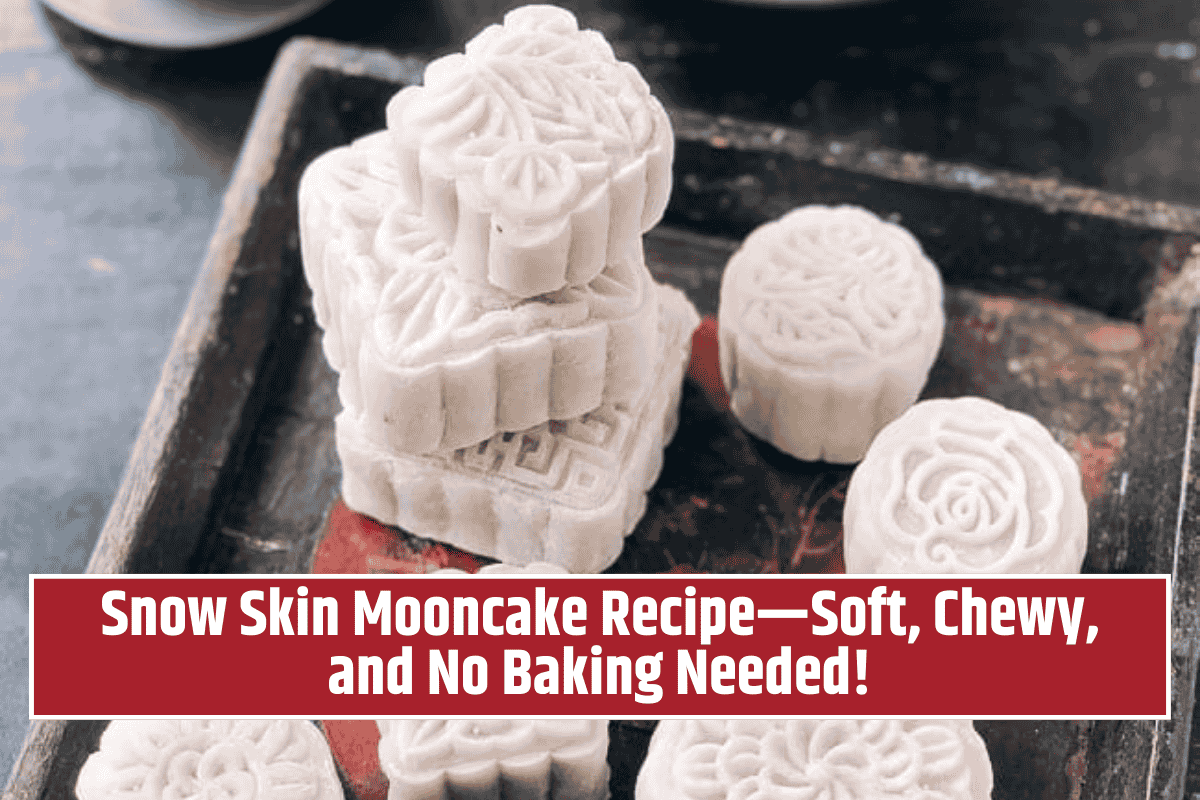
Snow Skin Mooncake Recipe: Snow Skin Mooncakes are a modern take on the traditional Chinese mooncake. Instead of the usual baked pastry, these use a soft and chewy outer layer made from glutinous rice flour (like mochi). They’re filled with sweet pastes like red bean or lotus seed, and they look beautiful with mold-pressed patterns. Plus, they’re easier to make than you think—no oven required!
Let’s learn how to make these soft and tasty treats at home step-by-step.
Ingredients
For the Filling:
- 400g sweet filling of your choice (e.g., red bean paste)
For the Snow Skin Dough:
- 60g powdered sugar
- 215ml whole milk
- 25g vegetable oil
- 50g glutinous (sweet) rice flour
- 35g rice flour
- 35g wheat starch
- 25g extra glutinous rice flour (for dusting)
Step-by-Step Instructions
1. Make the Dough Base
In a mixing bowl, combine powdered sugar, milk, and oil. Sift in 50g glutinous rice flour, 35g rice flour, and 35g wheat starch. Stir until smooth with no lumps.
Pour this mixture into a heatproof bowl. Cover with plastic wrap and let it rest for 30 minutes on the counter.
2. Steam the Dough
Set up a steamer with enough water. Place the bowl with the dough inside while the water is still cold. Keep the plastic wrap on (but away from the sides).
Steam over high heat for 25 minutes. The dough is ready when it turns clear and shiny. If still opaque, steam for another 5 minutes.
Let the dough cool slightly, then knead with gloves for a few minutes until smooth. Wrap in plastic and chill for 1–2 hours in the fridge.
3. Prepare the Filling
While the dough chills, divide your filling into equal balls (25g each for 50g mooncakes). Roll them smooth and keep in the fridge if the room is warm.
4. Toast the Dusting Flour
In a dry pan, toast the extra 25g glutinous rice flour over low heat for 6–7 minutes until lightly golden. Let it cool—this is for dusting your dough and molds.
5. Shape the Mooncakes
After chilling, divide the dough into balls equal in size to the filling (about 25g each for 50g molds).
Flatten each dough ball into a circle (about 3 inches wide), place the filling in the center, and close the dough around it. Seal the edges and roll into a ball.
Dust your mooncake mold well with the toasted flour. Gently press each mooncake into the mold, then press the mold’s spring to shape it. Carefully release and remove the shaped mooncake.
Repeat for all pieces.
Storage Tips
Keep your snow skin mooncakes in an airtight container lined with plastic wrap to avoid sticking. Chill for a few hours before serving—they’ll be extra chewy and fresh! Eat them within 3–4 days for best taste, or 1 week at most.
Snow Skin Mooncakes are a fun and tasty twist on a festival classic. They don’t need baking, and the texture is soft, chewy, and full of sweet flavour. Once you get the hang of it, they’re actually very easy to make. You can even try different fillings like matcha, chocolate, or fruit jams for something creative. Perfect for festivals or anytime you want a sweet treat!
FAQs
Can I use fillings other than red bean paste?
Yes! You can use lotus seed paste, chocolate ganache, peanut butter, custard, fruit jam, or even mango puree. Just make sure the filling is thick and not too wet.
Do I need a special mooncake mold?
A mold helps give the mooncakes their traditional shape and beautiful pattern. However, you can still enjoy the mooncakes by shaping them into smooth balls with your hands if you don’t have one.
Why is the dough sticking to my hands or mold?
This often happens if the dough is not chilled enough or if there’s not enough dusting flour. Use toasted glutinous rice flour to dust the mold and your gloves or surface before shaping.
How long do snow skin mooncakes last?
They stay fresh for 3–4 days when stored in an airtight container in the fridge. For best taste and texture, chill for a few hours before serving.
Can I freeze snow skin mooncakes?
It’s not recommended, as freezing can change the soft and chewy texture. It’s best to make and enjoy them fresh within a few days.